I see a blank Scanner Settings window when I start Epson Scan 2. What should I do?
-
Make sure you installed Epson Scan 2 for your product. Then follow the steps below for your connection type.
USB connection
Close the Scanner Settings window, then try the following:
Note: Start Epson Scan 2 after you try each of the following solutions.
- Make sure your product is turned on and connected to your computer or USB hub.
- If your product is connected to a USB hub, make sure the hub has its own AC adapter.
- Connect the USB cable directly to your computer.
- Use a different USB cable.
Ethernet or wireless connection
Close the Scanner Settings window, then do the following:
- Make sure your product is connected to the same network as your computer.
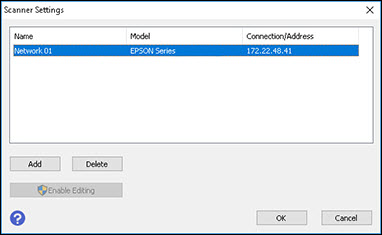
- Click Enable Editing or
 if you see it, then click Yes on the screen that appears.
 - Click Add. Make sure your product is selected as the Model in the screen that appears.
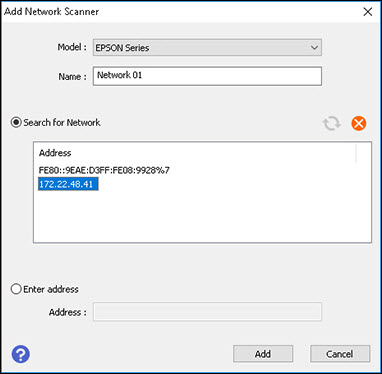
- Select the IP address for your product.
Note: If nothing appears in the Search for Network box, make sure your product is connected to the same network as your computer. If your product is connected to the same network but the box is still blank, contact Epson Support.
Note: If you don't know your product's IP address, you can print a network status sheet to obtain it.
- Click Add.
- Click OK.
Your product appears in the Scanner Settings window.
Published: Mar 21, 2017
Was this helpful? Thank you for the feedback!